
How to use Command™ Bathroom Solutions

How to Apply and Remove Command™ Bathroom Solutions
There are important tips to know, and follow, before applying Command™ Bathroom Solutions to ensure they hold up to your needs:
- Wait 7 days after painting before use
- DO NOT use on wallpaper, fabric, textured walls, brick, or rough surfaces
- DO NOT hang valuable items
- When applying on tile, avoid grout lines
- Ensure towel rings and toilet paper holders are orientated correctly
- Use indoors at temperatures between 50° to 105°F (10° to 40°C)
Failure to follow instructions carefully may cause damage.
How to Apply One and Two-Piece Bathroom Solutions
-
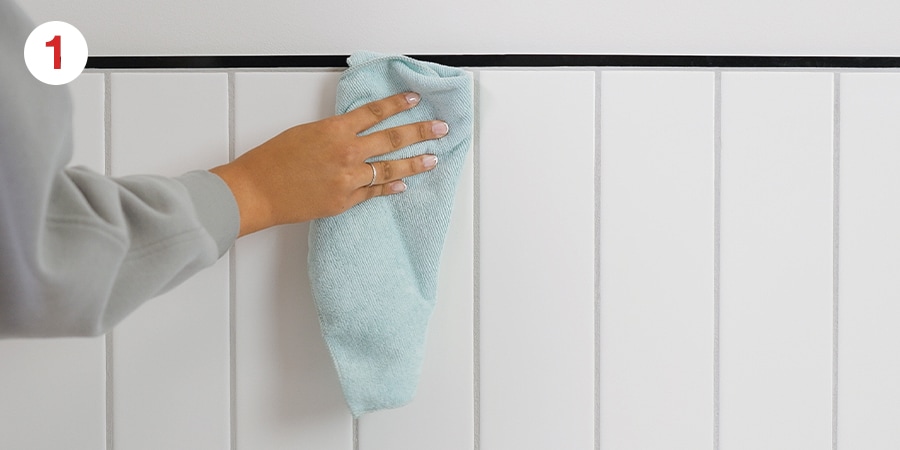
Step 1: Clean surface with rubbing alcohol. Do not use household cleaners or water.
-
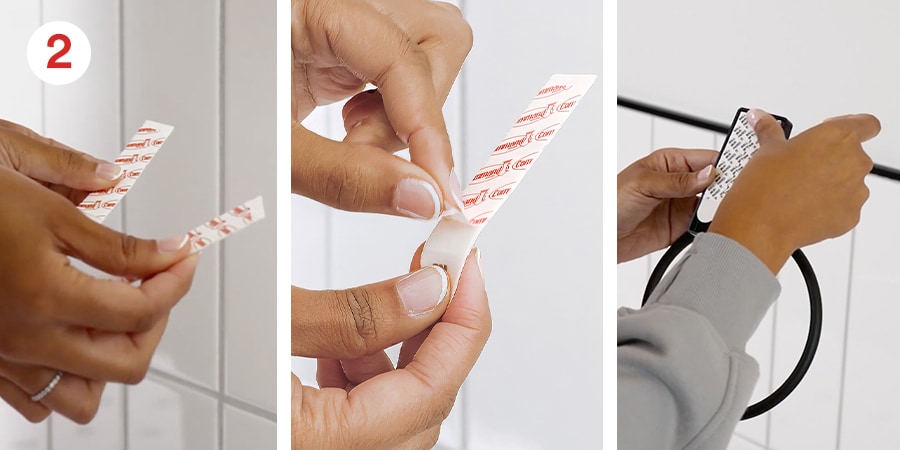
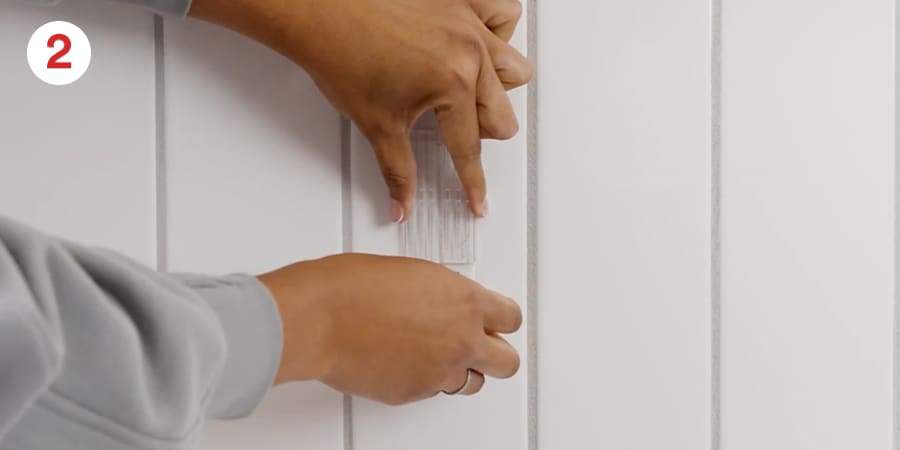
Step 2: (Two-piece hooks): Separate strips. Remove red liners. Press two strips onto the mounting base.
Step 2: (One-piece Hooks): Remove blue liner. Press adhesive onto hook. Remove black liner(s) and complete steps 5 and 7.
-
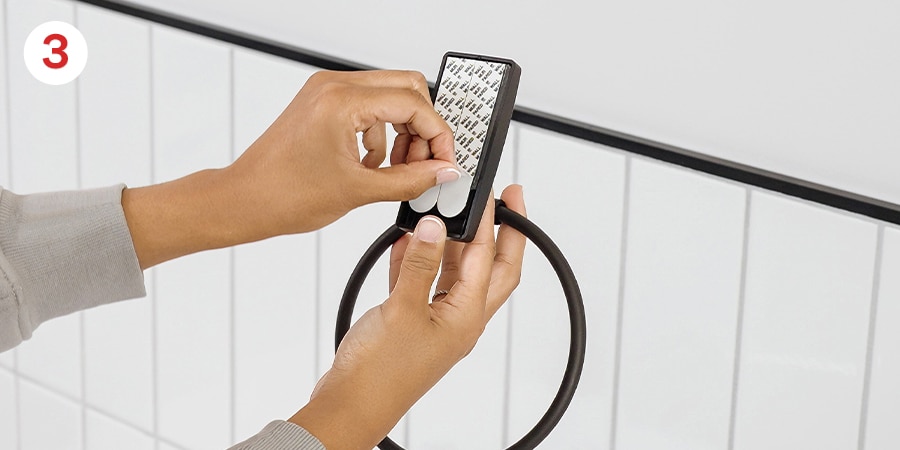
Step 3: Remove black liner(s). Press hook onto wall and hold for 10 seconds.
-
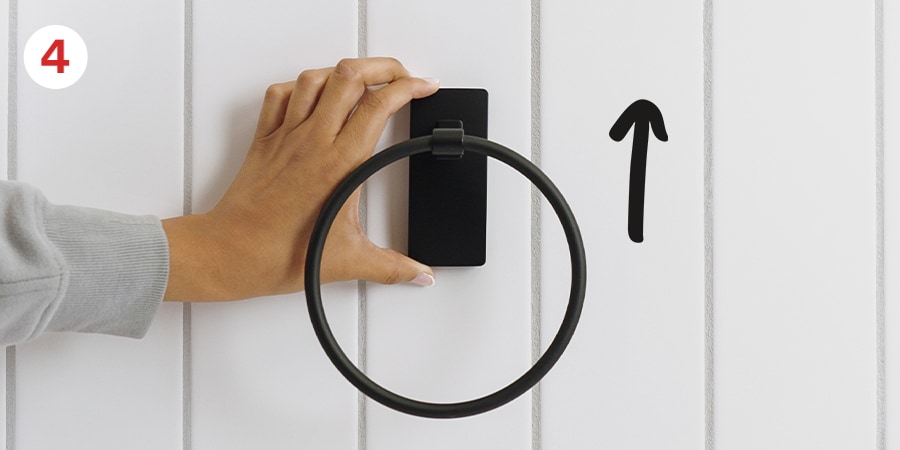
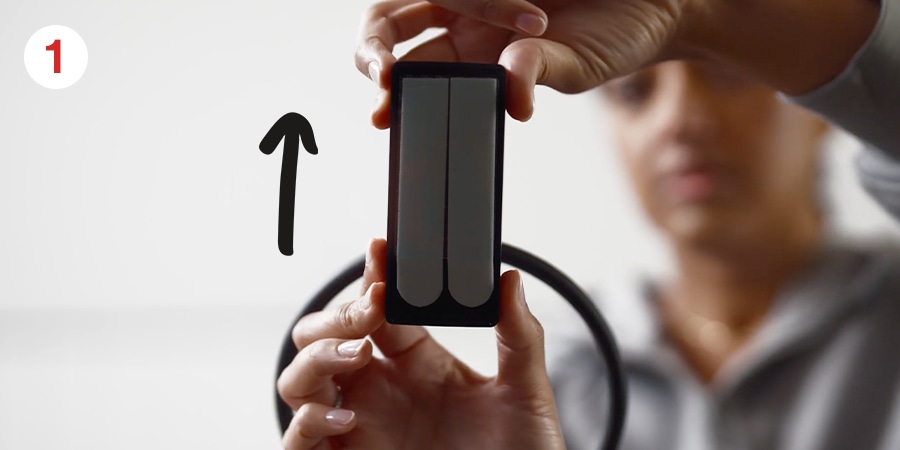
Step 4: (For Two-Piece Hooks Only): Temporarily remove hook from wall to reinforce strips. Slide hook up and off base.
-
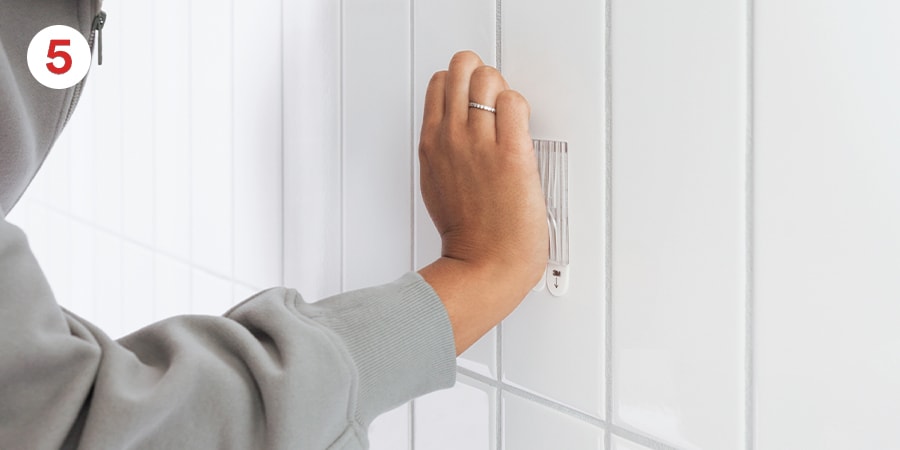
Step 5: (For Two-Piece Hooks Only): Press base to the wall firmly for 30 seconds.
-
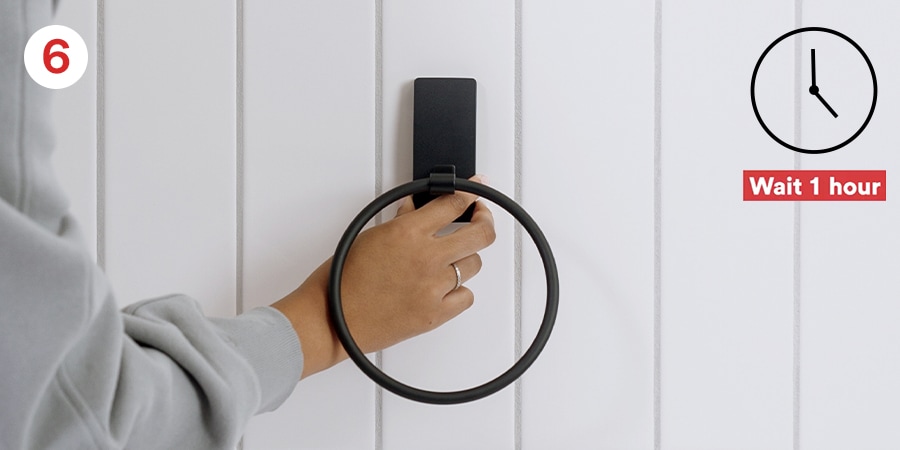
Step 6: (For Two-Piece Hooks Only): Slide hook back on. Wait 1 hour for adhesive to build.
How to Remove One and Two-Piece Bathroom Solutions
Learn the proper way to remove Command™ Hooks.
-
Step 1: For one-piece hooks, skip to step 2. For two-piece hooks, slide hook up and off.
-
Step 2: With one hand, gently hold mounting base in place.
-
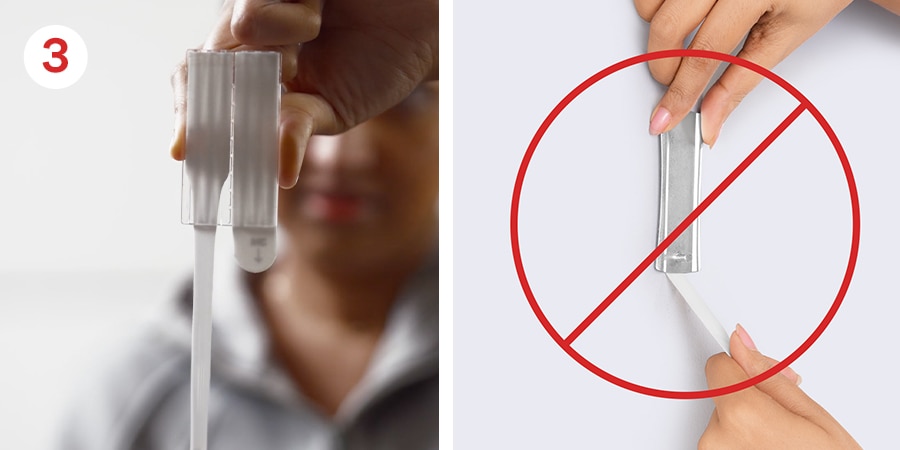
Step 3: With the other hand, gently stretch the strip tab straight down along the wall at least 15 inches to release. Never pull the strip toward you. Always go slow and pull straight down.

Which Surfaces Do Command™ Products Stick To?
Have other surface questions?Command™ Brand Featured Products


Couldn't find instructions for your Command™ Product?
Explore how to use Command™ Hooks, Strips, and more damage-free hanging solutions.